Friday, May 25, 2012

It rolls again!

Well, I had a couple of days where I could throw some time at the car and the results speak for themselves. I have the suspension back on the car (except for the front sway bar) and the tires back on the ground.

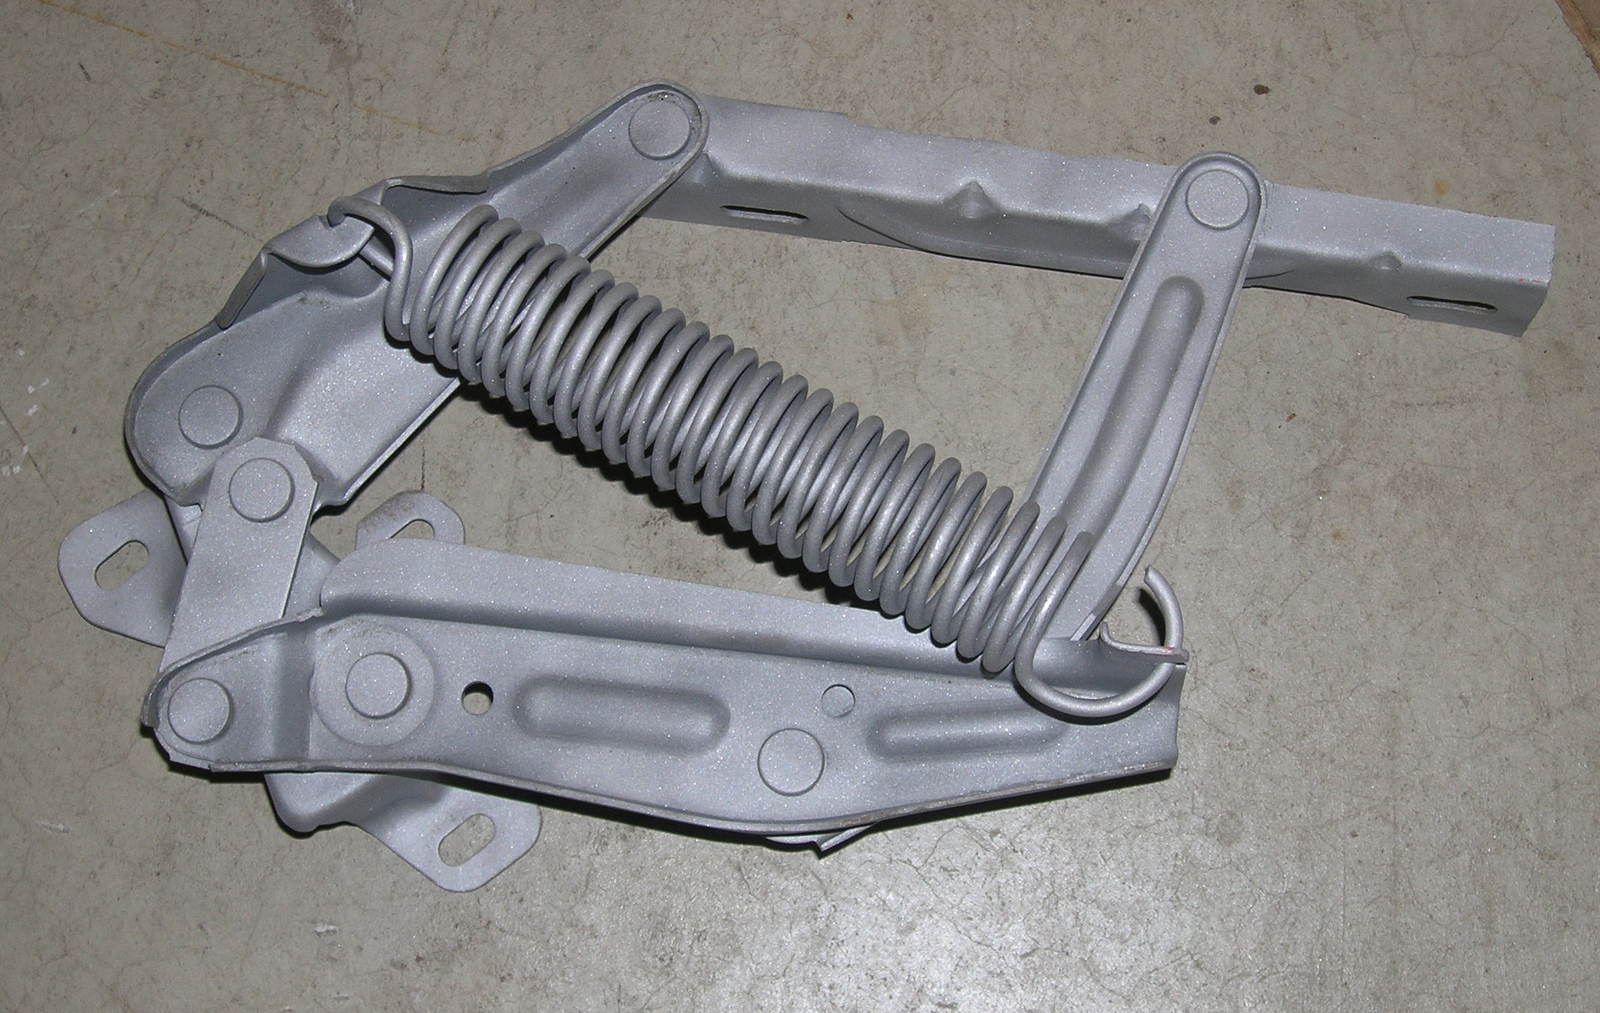
It was a lot work. Following the shop manual to reinstall the springs, it turns out, is not possible unless you use a spring compressor, quite possibly my least-favorite automotive tool to use. But, once I conceded that it wasn't going back together with out one, it went fairly well.


The only hick-up is one of the shock absorber studs on the lower control arm snapped off on installation. I'm not suce what all is involved in the repair, but it is a little bit of a disappointment. to have to go back in and repaira part that I already restored. Oh well. Could have been much worse.

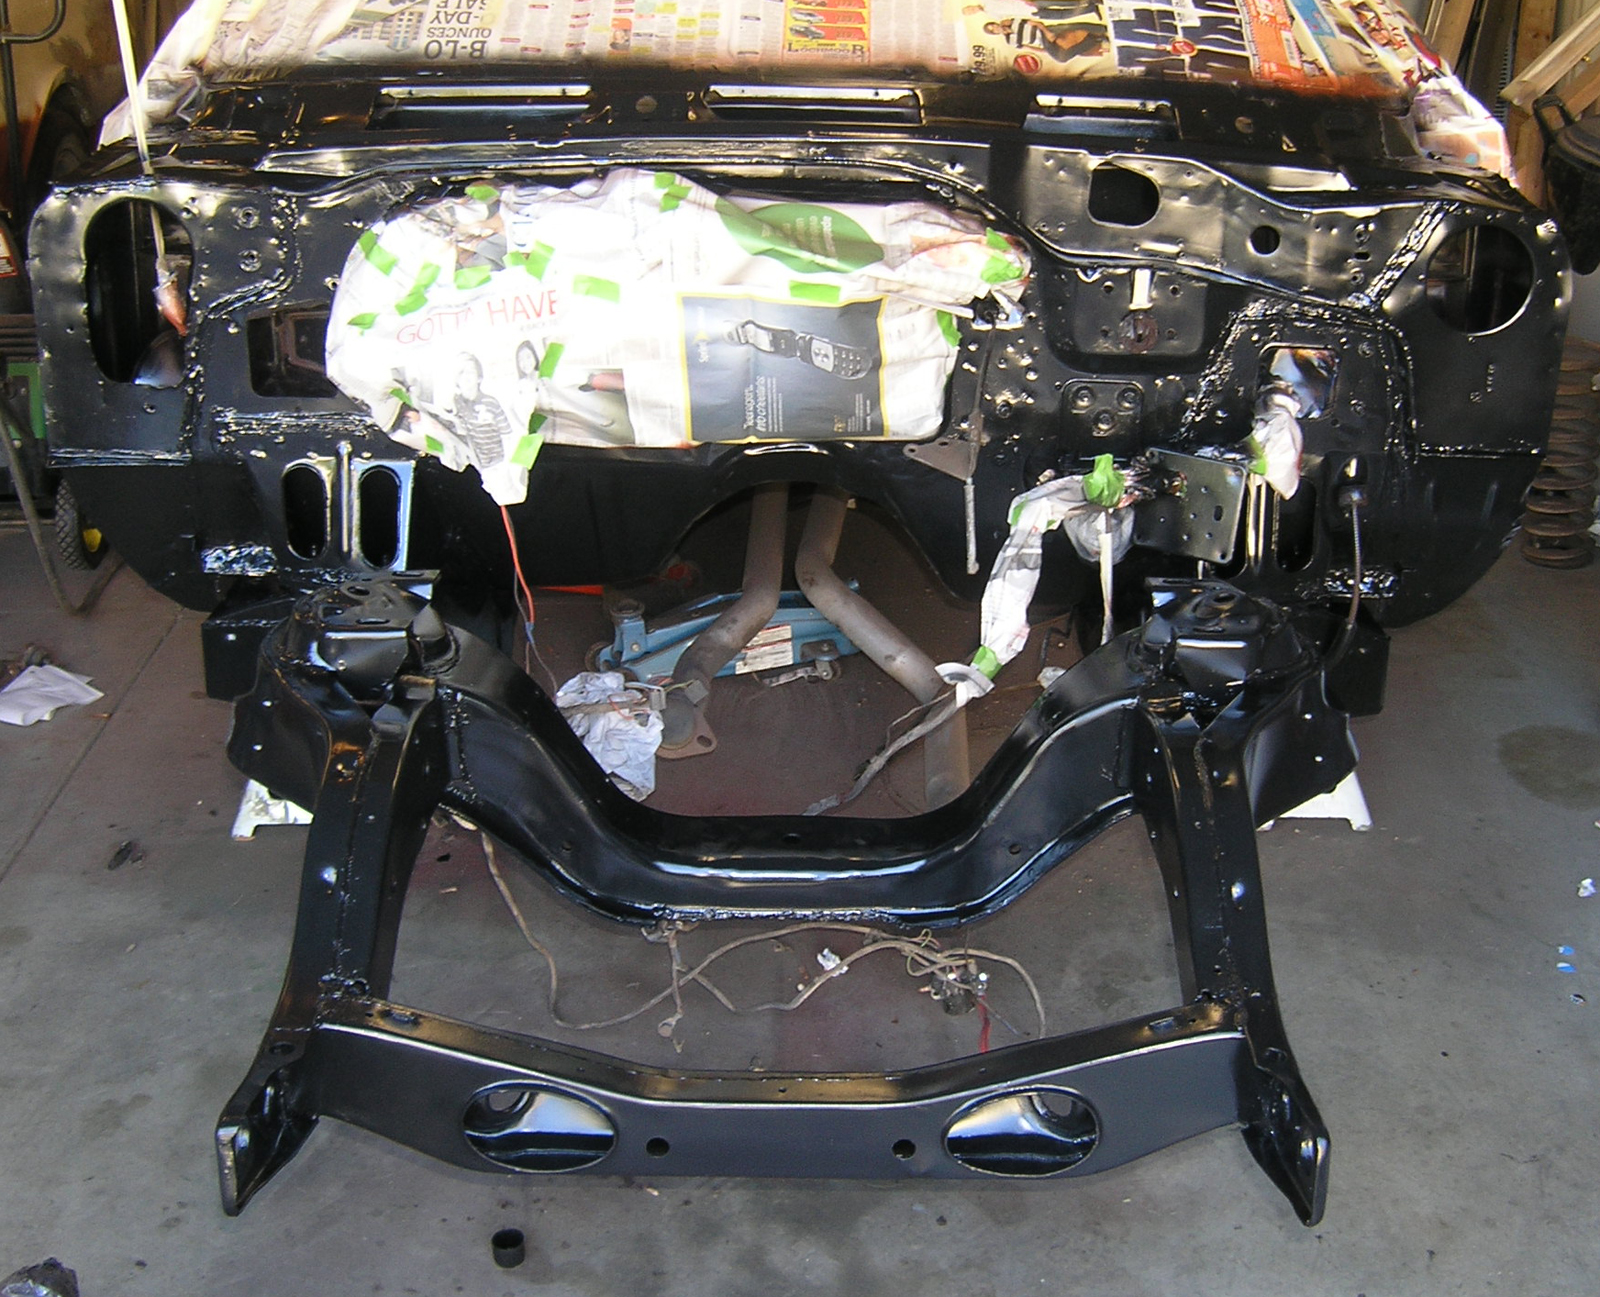
In addition to the above, the firewall is painted, harness is cleaned and retaped, and all vacuum hoses that were still on the car have been replace with new. Next up will be the sway bar and a couple of other small details up front, and then I need replace the rear springs. The gas line needs to be replaced as well, but I'm thinking I will be waiting until the engine is back in the car since I want to run it by the firewall rather than around the front of the engine.

Tomorrow, I roll it out and do some cleaning in the garage. More updates to follow...

Sunday, May 20, 2012

Reassembly begins...

Been working on reassembly as well as clean up on the parts that I haven't had a chance to clean up yet. All of the vacuum lines that were left on the front end have been replaced with new, the harness has been cleaned and retaped, and the brake lines have been cleaned up at the front of the car.

I took that wiper motor apart and did a quick detail on it, so it looks much better.

Part of this project is converting from power drum brakes to power disc brakes off of a '68 Galaxie wagon, so I needed to change out the booster which needed a little detail work to get it presentable. Just the usual wire-wheel, a little sanding and steel wool, rust converter,and then paint. It is now installed with the previously refinished bracket. The actual master cylinder is on order from Rock Auto, but won't arrive until the middle of next week, but there is plenty left to do before then!

I cleaned up the rag-joint which is in great shape (thank goodness!) since this has tilt steering, and the rag joints in good used condition fetch about $80-$100. After clean up was done, I reinstalled the power steering box, and then finished up the heater core cover and mounting plate.

The cover was a little extra fun since it has damage in a few places that had to be repaired with plastic epoxy first.

Last thing done ... upper control arms are installed. I hope to get the rest of the suspension, minus the coils, in place tomorrow. Hope to post some pictures then as well.

More to come!

Thursday, May 17, 2012

Restoring and painting the front frame...

Okay, it has been way too long between posts, but I have gotten quite a bit done. But I get to talk with pictures (click them for the full-sized image) today, so here we go!

I finished cleaning up the front end. Not perfect, but that wasn't my goal. It will be very nice, watch and see! The first step after everything had been degreased, wire-wheeled, and wiped down was to spray everything with rust converter.


Next I used Eastwood Products Internal Frame Coating to get in all of the tight spaces. Then a coat of Eastwood's Rust Encapsulator. 


Before top-coating, I went ahead and hit the seams with new seal sealer and body putty.


And finally a coat of Eastwood's Extreme Chassis Black. It is lookin' good now. I need to finish up cleaning up some parts for the reassembly!

I will post more pics of progress as they become available.

Thanks!

Monday, April 23, 2012

Rebuilding the control arms and I found a correct console and bucket seats...

Things are moving along great. The front suspension is almost completely rebuilt and looking great. Upper and lower control arms, new end links, new center bushings and the mounts are cleaned up and repainted, sway bar cleaned and painted,  and the strut rods cleaned up painted.

I have also cleaned up and painted the drive shaft, finished up the inner wheel houses (the passenger's side needed a small welding repair to the battery tray), and have replaced the one small rust damage spot on the frame with a small patch.

In other news, a couple of very cool finds ... I got a correct, 1967 Mercury Monterey console with shifter in very good shape. Although the shifter is a long ways off from being as cool as the '68, it goes very well with the way-cool, and ultra-rare, power locks set up that I picked up. It's actually part of the convenience group that is built into the console. Going to need a bit of work to get it looking nice, but it will clean up nicely.

I'll post some pictures soon!

Wednesday, April 11, 2012

Finish coating with Eastwood Extreme Black and how to remove hood springs...

Got a day to work on the car and nice weather to boot, so I put a coat of Eastwood's Extreme chassis Black on the radiator support and DS inner wheel house. It brushed on smooth and the top side of the wheelhouse got sprayed from the rattle can and it went down well also.  They are now ready to go!


I also cleaned up the horns ...


And, I wanted to include a quick tip on removing the springs from the hood hinges. I always heard to use nails in between the coils of the springs. Basically you open the spring by "closing" the hinge. It takes a bit of muscle. Once you have it compressed, you drop in the nails (or hex wrenches in my case) to take up the space and then open the hinge back up.


 I blasted the entire assembly before removal of the spring. One the spring was removed, I painted the ends of the spring. I painted the rest of the hinge, and then reinstalled the spring. Last step was to mask the hinge and paint the spring in place. With this spring, it is always under tension and there is always room between the coils, so that was the best way to paint the springs. This won't be  a show car, but it will still look great when it is done!