Friday, November 4, 2022

“Paint Correction”


It's been a week since I painted the roof and 8 days since I did the rest of the body. The clear is definitely firming up and “shrinking” as I've read it will do. While I still have plenty of orange peel to “correct”, there are places where I can definitely see it has diminished.

So, the next step on the vehicle is “paint correction” as they say in all of the videos, and for me that starts with addressing the runs in the clear coat. Here are a couple of the worst, and they are pretty bad.


The majority of what I've found approaches this task by taking a razor and scraping the surface of the run, shaving it down until it is just about flush with the surface of the surrounding clear coat. This is a tedious, and harrowing process, but after cleaning up several, it hasn't been too bad. I did discover that one of the runs was in the base, not the clear, so I have a small touch-up that I will need to make to the paint, but it's small and in a relatively inconspicuous spot.


After I have completed shaving the runs down, I will be trying out some of my new paint buffing equipment including denim pads. These are supposed to allow you to smooth out the orange peel without having to sand. One of the things I purchased was a paint thickness gauge that I will be checking to make sure I have plenty of room to clean things up. As always, the goal is to improve, not make this into a show car. We will find out just how well these work in the hands of a novice. Hopefully I will get a chance to start this next week, and more to see at that point.


Wednesday, November 2, 2022

Finally!

 It took a weekend of mild weather, and using every minute of the short Fall hours of sunlight to do it, but the wagon has been returned to its factory colors of Trafalgar Aqua Metallic and Wimbledon White. Such a long road to get here, but it looks great in spite of my first time painting efforts.

There is orange peel, and there are some runs, but much of that can be greatly diminished without having to respray anything. More details to come in the coming days, but for now, a few pictures.


Sunday, September 25, 2022

Sealer primer and then wet sanding...

 Last week we finally got the car into sealer primer. It was 82 degrees outside, and the inflatable paint booth once again acted like a greenhouse bringing the temperature up well over 100 degrees inside.

Spraying the roof, even with a 3-step ladder was a challenge to reach the middle and as a result there is a fair amount of overspray that needs to be cleaned up. So far it is cleaning up nicely, but it is a lot of work. I did the tailgate first as a test, and that actually went really well, so my hope is the rest of the vertical surfaces will go relatively easily.

Paint has already been purchased, so if I can get everything set in the next couple of weeks, color and clear will be applied. The factory Trafalgar Aqua Poly for the lower part of the car, and Polar White for the roof, windshield pillars, and the insides of the window frames. I'm thinking this was done because of the white interior so you didn't see green from inside the vehicle while everything else inside was white.

Really hoping to get color and clear on before winter so I can start reassembly. There are a lot of parts that need to go back on this vehicle!


Tuesday, November 2, 2021

Hood scoop

 When I started this project, I had no intentions of adding a hood scoop. Honestly. First off, to look right, it would have to be a pretty huge scoop. Second, I wanted to keep this looking more stock. Well, the choices you make sometime have consequences. In my case, that was moving to the serpentine setup on the front of the 429.

As it turns out, the A/C compressor sits very high. This wasn't an issue in the pickup truck it was pulled from, but passenger cars don't have near the same clearances under the hood. After spending a lot of time trying to figure out how I could get the compressor down under the hood, I came up empty handed. Even with cutting down the mounting bracket and rotating the compressor, it just wasn't going to fit. I'd already sold the original front end pulley and accessory setup, so I couldn't go back to that even if I wanted to, which I didn't. So, I finally had to commit to a hood scoop.


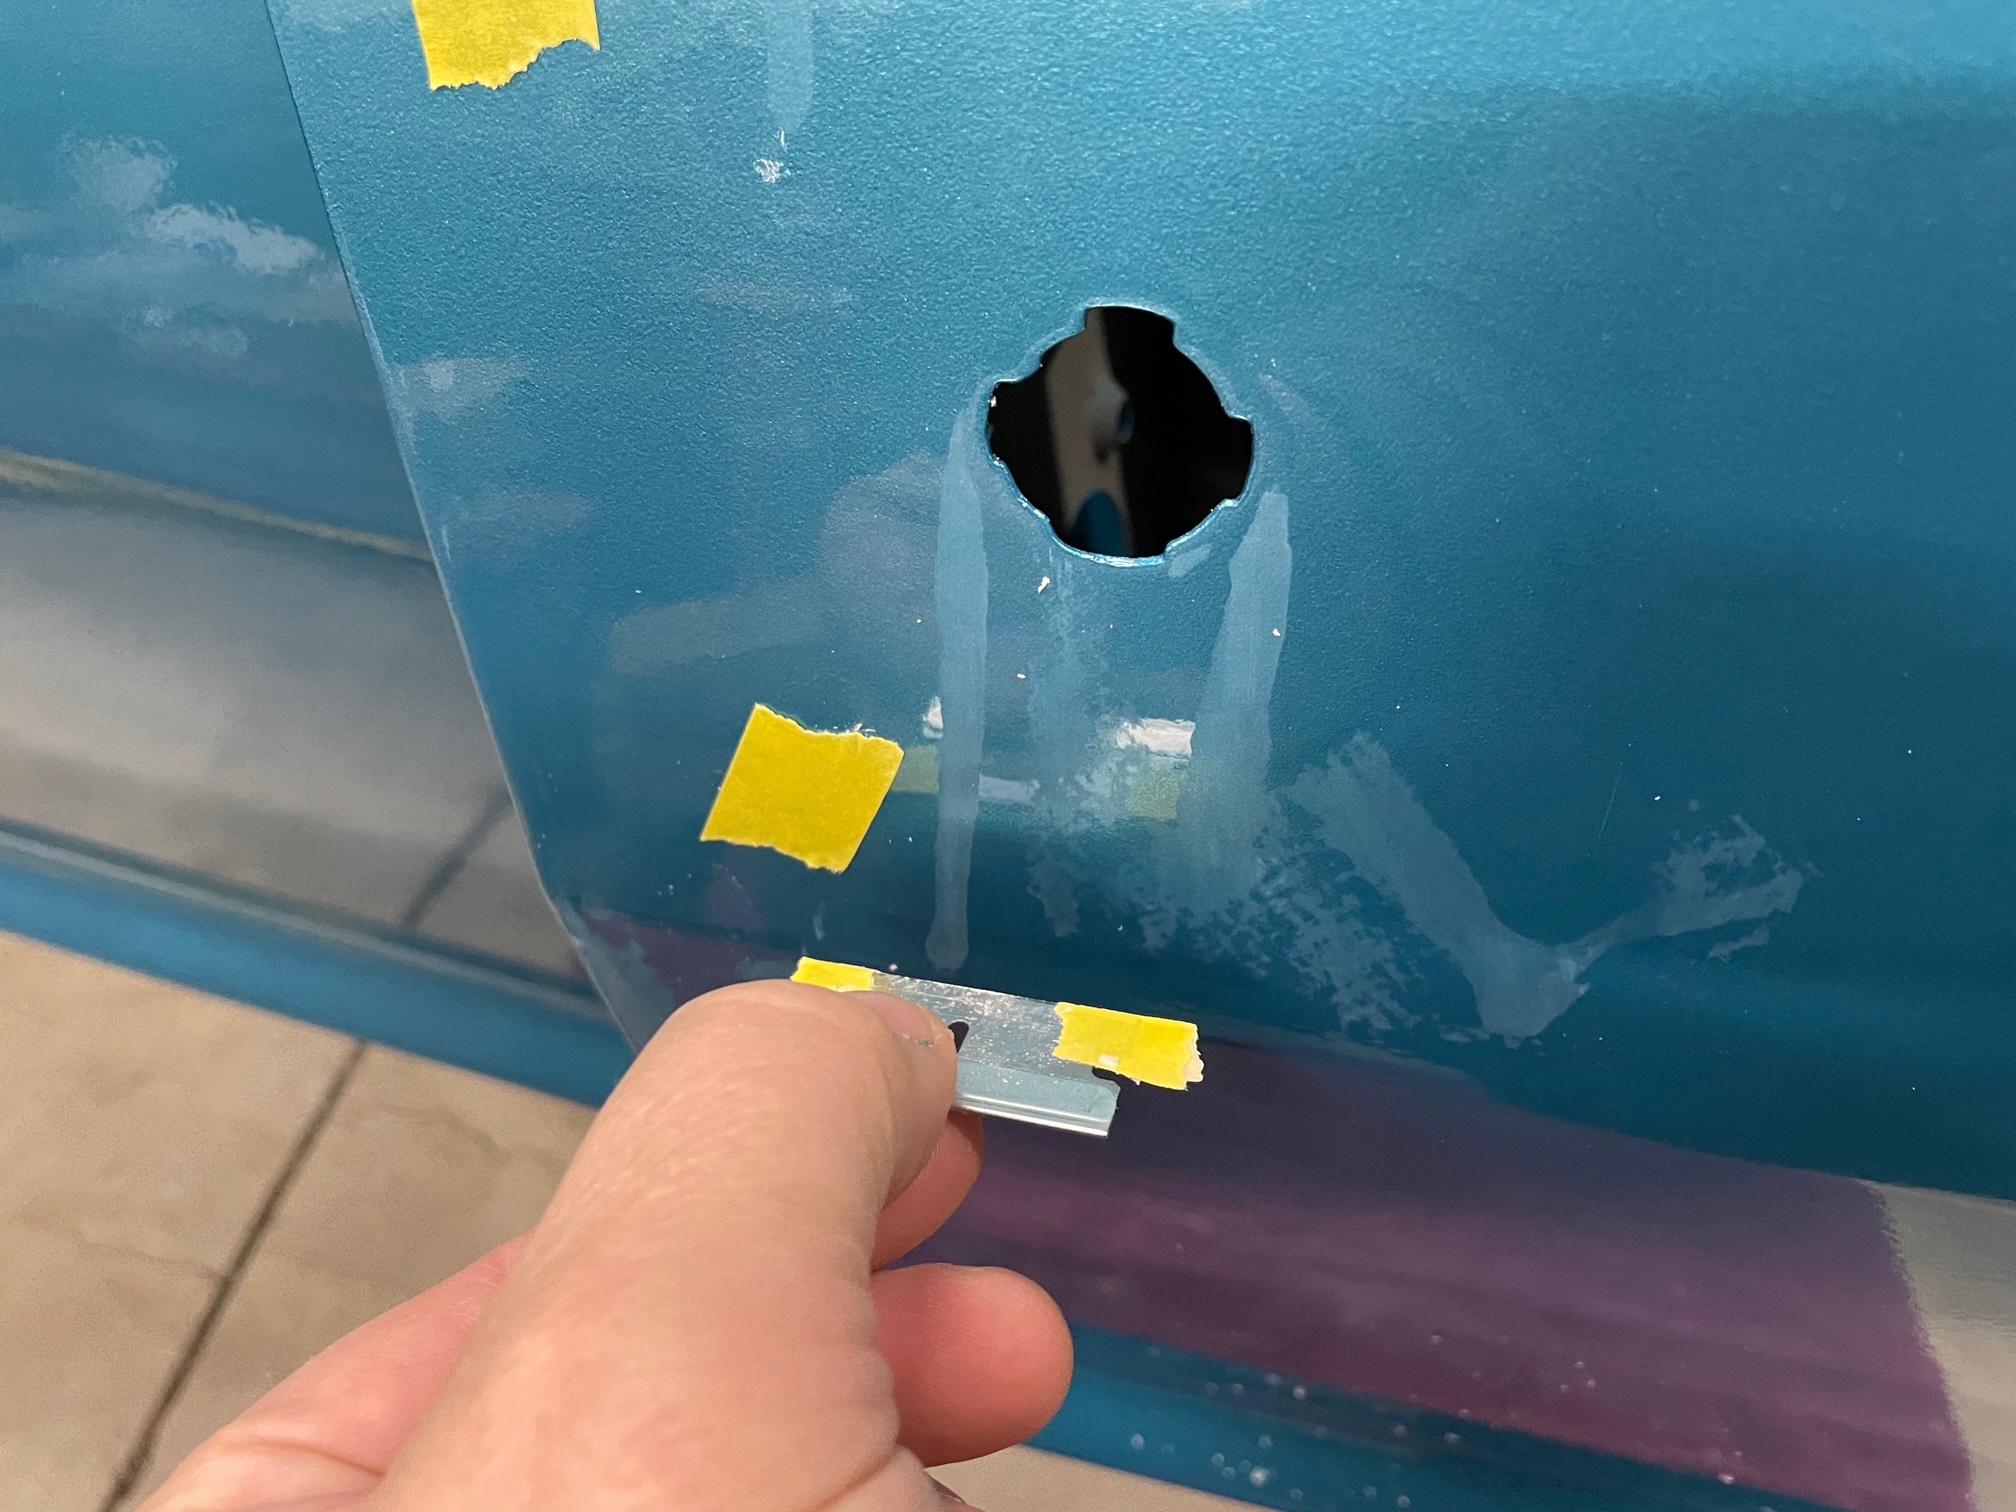
I cut a hole, and then took some measurements to get a feel for what size scoop I would need. After establishing some minimum dimensions I started the hunt for a huge scoop that I could modify to work. Nothing. I looked at cowl scoops that I could turn around backward, but they just wouldn't look right. So I sketched up roughly what I was looking for and started the hunt for someone who could make what I wanted at a decent price.


I wanted something simple, that looked like it could have come on the car, and be as low profile as possible. After more than a month of calling around chasing down fiberglass people, I found a guy a couple of hours away who could do the work for $200. Done!

After literally months of waiting for him to make the scoop I got the call that it would be ready. I drove more than 2 hours away to pick it up, and when I arrived it was the biggest turd you ever saw. It weighed around 15 lbs and was more than 1/2" thick in places. Nothing was flat. The ridge was crooked, thick, and off-center. It didn't even meet amateur quality. No charge, but months wasted waiting, and 4 hours of driving for nothing.

The search continued and I returned to one scoop that I had considered previously but opted not use. It was just barely wide enough, and not quite as long as I was thinking. And, it's about 4.5" tall! This was WAY more scoop than I wanted.


I decided to give it a shot. After some trimming to get the height down, and some shaping work on the back to match the profile of the hood, I got something that I think will work. I still need to add a blank to fill the opening as this will not be a functional scoop, but I'm pleased with how it fits.


I had to cut the studs off and remount them after trimming it down, but the fit is good and secure. Over winter I will finish up the details on the hood, blocking out the primer, touching up a few small spots that need attention, and have everything ready to go for paint in the spring.

Lots of Sanding

Still moving forward, but slowly. House projects and a new pool this year which have required a ton of landscaping pulled me away from getting to paint this year, but I will be ready come springtime to put color down.


It will also give me time to finish recovering the '67 bucket seats I picked up to replace the '68s I was going to use. I very much prefer them to the '68s, so I will get pictures posted once i have finished them. One of the unexpected delays I ran into when changing to the '67 seats was a lack of the seat buttons. I thought I had more, but it turns out the others I had were longer. Thankfully, after a few months of searching, I was able to secure what I needed along with several extras. Now I just need to take a few measurements off of the position on the backseat and I will be able to move forward.

Seat pictures to follow soon!