Tuesday, January 14, 2025

Little Details...

Just a quick post. It's a little thing, but this type of stuff is really gratifying. I was fortunate enough to be able to locate a replacement NOS rear courtesy dome light lens. I could have cleaned up the one I had and resprayed the chrome with something suitable for what it is and lived with the little chip at the mounting screw hole, but I was able to pick up a really nice NOS piece which just feels good to change out.


Assembly Front and Back...

 Combining several days worth of effort together here, but I have been working on putting the front and back of the car back together. After more than a decade, it amazes me that I can still locate the hardware and figure out how some of this goes back together.

At the back of the car, I was able to get the Mercury emblem installed. It was missing two the the posts, so I'm hoping it will hold up with the two remaining. Installing stuff like this needs to be done before putting the glass in or it won't be accessible. I was also able to get the external window crank/window lock installed. I had a NOS handle that I added which has the original factory red emblem in beautiful condition. A lot of buffing and polishing for everything before it goes on. This won't be a show car, but there is so much grime/hard water staining that a thorough cleaning leaves many of the parts looking almost like new (well, at least a lot better) compared to how they started.

This is filler trim for the gap between the rear bumper and the back of the car. 


Here are a couple of pics of the wagon tailgate with installed hardware.


Moving to the front, I went ahead and did a "quick" cleanup of the bumper brackets. Washed thoroughly, sand with 150 grit to knock down any rust scale or road crud build-up, and then wash again. As I've been posting for years, I really like the Eastwood Rust Encapsulator: large cans, sprays cleanly, dries fast. After laying down a heavy coat, using a foam brush, I painted the brackets with Eastwood's Extreme Chassis Black. It dries faster than I care for in warmer weather making it more difficult to get a smooth finish with the foam brush, but on a sub-40 degree day, it works fantastic! You have to give it a few to dry, but the finish is really quite nice and smooth.


I didn't remember the order that things came apart, so I made a lot of extra work for myself when putting things back together I installed the bumper first which was a bad idea. accessing everything else for the grill was really difficult. And, when I went to adjust the position of the grill I ended up chipping the paint on the fender and the fender extension (look at how tight that tolerance is!), so I will add those to the list of places I need to touch up the paint.


Speaking of which, I also picked up some additional paint to spray in the jambs where I missed when painting the car, the hood (needed to spend more time on the body work, and ended up breaking through the base coat when wet sanding), the hod scoop because I had a couple of light areas around the base and wasn't happy with that, and a couple of miscellaneous little pieces that were overlooked.

Once I had the bumper in, I had to think about the order of installation of several items including the emblem on the header panel, the Mercury logo for it as well, the front nose trim which ties into the grill, the long, thin trim on the fender that runs the length of the wagon, and the fender "grill" trim that allows access to the installation of other front end components. Last night I was able to get all of those installed except that last fender "grill" which will go in the next time I'm working on the car. It will need clean up before it is installed.

In the meantime, here is the front of the wagon, the first time it has been back together since I took it apart more than 13 years ago!


The bumper isn't perfect, but I have two, and I may just splurge and have the other one rechromed and swap it out at some point in the future as it is a highly visible piece. For now, this will work perfectly. I'll try to get a better picture of the front end when I can roll it out onto the driveway and step back more than two feet from it.

That's all for now. Next up will likely be getting the tailgate glass back into place, the other glass track for the tailgate glass that goes in the rear roof pillar, and hopefully reinstalling a good, used rear tailgate seal.

Saturday, December 21, 2024

Ran the engine for a bit yesterday, and picked up a 3.25 Track-Lock center section...

 It been about a month since I last ran the engine, so I decided to fire it up and charge up the battery. I'm always impressed at how well this car runs, and the relative ease to start it. And it is at this moment that I realize that I have not added a video of the engine running. We had more snow today but, weather permitting, I will get a video of the engine running and post it tomorrow. 

This is a mild-built 429 with ported and polished  D0VE-C heads, a simple Performer intake, and a Holley 750 with vacuum secondaries. The headers I build myself, and there are a couple of posts about them, ignition is a Jacob's Electronics multiple spark ignition, and it backs up to a C6 transmission.

And, as the title of the post says, I picked up a 3.25 Trac-lock center section which will be added soon!

Next projects up are assembling the remaining components of the rear door and working on the front bumper.

Rear bumper is installed...

 The rear bumper is installed. I've been working on this car for so long now, I sometimes forget how much went into the car. I have several hours into cleaning things up, removing, or at least improving, some of the dings or dents as well as removing overspray paint, a little polishing, and general clean-up.

I actually have three bumpers for the wagon, the one it came with which had nice chrome, but had been hit and needed work. A second one I picked up off of a parts car that was in better shape, but not by a lot. And a third one which was listed as NOS, but I suspect was just rechromed at some point and then left to sit. This third bumper is the one I have opted to use in spite of the fact that it does have numerous pits in the chrome as it shines nicely and is straight.

The bumper brackets were in good shape with just light surface rust, so they were sanded, primed with Eastwood Rust Encapsulator and then painted with Eastwood Extreme Chassis Black which I've had good success applying with foam brushes.

The back-up lights and license plate lights all needed to be cleaned and polished up. Everything was caked in Texas dirt and most had overspray where someone had painted the car a darker blue, but must have taped off almost nothing.

One of the really cool additions was a set of NOS Ford over-the-counter bumper steps. I picked them up years ago and it's great to finally see them on the car.

Before I could install the bumper, I also had to clean up the bumper fill panels, a 3-piece set of anodized aluminum trim that actually cleaned up pretty nice. The main center piece took more then an hour to clean off oversprayed primer and paint that was down into the ribber pattern. I also decided to add the door handle while I was at it, and will be adding the door lock/rear window handle shortly so I can finally reinstall the rear glass. Inching closer.


Friday, May 10, 2024

Assembling Doors, Installing Trim

 Still slowly plugging away. Working on assembling the doors which includes changing over to power windows and power locks. Lot's to figure out here, but I purchased all of the parts pulled from another vehicle, but I don't have a good guide to use for installation. So, taking my time. I am having to clean all of the old parts, remove all of the old grease which has hardened, re-lubricate, and fix any damage to the wiring harnesses.

I also need to do the beltline fuzzies. I just ordered a set from AutoKrafters for a 4-door Galaxie and am hoping to make those work since I have been unable to locate anything specific to a Mercury wagon.

And, I have been installing the trim. All of the trim needs to be washed up, overspray paint and primer by the previous owner has to be removed, dents knocked out to the best of my ability, and a quick polish. Most of the original factory mounting hardware is shot and finding something the works has not been easy. In most cases I can find something close, but requires modification. Very tedious work.

I did drive it out of the garage the other day, so it moves under it's own power, by it also leaked some tranny fluid, most likely from where the speedo cable gets installed, but I may have a bad seal at the shift arm that needs to be addressed.

More to come...


Thursday, August 31, 2023

Slowly getting cut and buff done...

 Just a quick update on the progress of cut and buff (or in my case, wet sand and buff) the clear. I've got my process down pretty good at this point.

1) Sand 4 times with 1000 grit

2) Sand 2 times with 2000 grit

3) Sand 2 times with 3000 grit

4) Buff 4 times using heavy cut and denim pad

Just need to finish up the driver's door, driver side fender, hood, and front of the car and I'm done! Basically about 3/4 of the way done, and pleased with the results for my first time painting a vehicle, and first time wet sanding and buffing out a vehicle. Results below, and hope to post in a couple of weeks that I've moved on to finish up reassembly.


Sunday, February 26, 2023

Working on Cut and Buff of the Clear Coat...

 Making slow progress on cut and buff of the clear coat, but it makes a huge difference. The new paint isn't perfect, but it isn't half bad either. I will try to get a decent picture of a finished panel soon. Very time consuming, and a bit stressful, but looking great.


Monday, December 12, 2022

Interior Reassembly is Under Way!

 Started on reassembly of the interior. Awesome to finally see the new upholstery in the car! More to come!


Saturday, December 3, 2022

We have Roof Rack!

 After many hours of wet sanding and buffing out the roof, I have finally finished which means I can add the roof rack. The first step was to add the stainless steel strips back onto the roof. I saved the rubber strips that run underneath them, but everything was filthy. I started by cleaning everything with a stiff brush and Simple Green. After two passes, they just weren't clean, so i moved on to my old friend, stainless steel SOS pads. Two passes with those and they finally came clean.

It always amazes me when cleaning up old parts that have 50 years of filth, how much nicer they are after. Amazingly, once clean of dirt and oxidation, the rubber strips softened and significantly more pliable. What I also found was, after 10 years of climate-controlled storage they had shrunk by roughly 1/2". When I went to mount everything back up, the second mounting hole was roughly 1/2" short of the screw hole, and I had to cut new holes in the rubber strips. After that, they mounted without issue.

Like the stainless strips, the roof rack and its mounts were also filthy. I was very fortunate. My roof rack was missing when I purchased the vehicle, but I was able to find this one locally at a very reasonable price. The seller saved all of the mounting hardware, including the rubber pads that go between the feet and the roof. I did find that some of the hardware on the roof rack itself needed to be replaced which I was fortunately able to get from the local hardware store. After a little tweaking and adjustment, I was able to get all four corners mounted and discovered that nearly every hole is stripped. So, the rack is loosely held in place while I work out what I need to do next. I'll likely have to move up to the next screw size and grind the heads smaller as they fit into a countersunk pocket.

Super thrilled to see my wagon with a roof rack after so many years. Once I have that resolved, I will be moving back onto wet sanding and buffing out the rest of the vehicle. This will take me several weeks as there is a lot of work to be done there. More updates to follow soon!


Wheels are finally on!

 The wheels are finally on the wagon, but it turned out to be a bit of a pain. So these wheels are an old school set of Cragar S/S rims that I rescued from a '66 Galaxie that I parted out. They were pretty rusty, but I've always loved these rims, so I decided to keep them. After paying $20 a rim to have them professionally blasted, stripping everything including the chrome, I took them to the local powder coater and had them done to match the roof. for another $140. My original plan was to only do the outer edges of the rim in white, and then do the center in argent, but they couldn't get a clean line, so we went all white, and then I added the tri-bar knockoffs.


So with the wheels done, I needed tires. I had purchased a couple of Cooper Cobras for the rear a while back and had them mounted up. When I went to get a set of matching tires for the 5" wide front rims I found that Cooper no longer made them, and Coker doesn't make a size that would fit. I ultimately had to punt and get a set of touring Hankook tires.

The lug nuts on the rims that we on the car were the wrong style, so I needed to get new ones. I found a set specifically for Cragar S/S wheels and got them ordered. A few days later...

Attempt #1: The washers that came with the lug nuts were too large a diameter, so I ordered new ones. A few days later...

Attempt #2: The new washers arrived. I went to install the first wheel and it turns out I needed a special short lug nut, so I returned the set and managed to chase down a set of the lugs with the shorter length and got them ordered. A few days later...

Attempt #3: The new lug nuts arrived. They also came with washers, but that's fine because these actually worked.

Now it's time to get back to wet sanding and buffing out the roof.

Friday, November 4, 2022

“Paint Correction”


It's been a week since I painted the roof and 8 days since I did the rest of the body. The clear is definitely firming up and “shrinking” as I've read it will do. While I still have plenty of orange peel to “correct”, there are places where I can definitely see it has diminished.

So, the next step on the vehicle is “paint correction” as they say in all of the videos, and for me that starts with addressing the runs in the clear coat. Here are a couple of the worst, and they are pretty bad.


The majority of what I've found approaches this task by taking a razor and scraping the surface of the run, shaving it down until it is just about flush with the surface of the surrounding clear coat. This is a tedious, and harrowing process, but after cleaning up several, it hasn't been too bad. I did discover that one of the runs was in the base, not the clear, so I have a small touch-up that I will need to make to the paint, but it's small and in a relatively inconspicuous spot.


After I have completed shaving the runs down, I will be trying out some of my new paint buffing equipment including denim pads. These are supposed to allow you to smooth out the orange peel without having to sand. One of the things I purchased was a paint thickness gauge that I will be checking to make sure I have plenty of room to clean things up. As always, the goal is to improve, not make this into a show car. We will find out just how well these work in the hands of a novice. Hopefully I will get a chance to start this next week, and more to see at that point.


Wednesday, November 2, 2022

Finally!

 It took a weekend of mild weather, and using every minute of the short Fall hours of sunlight to do it, but the wagon has been returned to its factory colors of Trafalgar Aqua Metallic and Wimbledon White. Such a long road to get here, but it looks great in spite of my first time painting efforts.

There is orange peel, and there are some runs, but much of that can be greatly diminished without having to respray anything. More details to come in the coming days, but for now, a few pictures.


Sunday, September 25, 2022

Sealer primer and then wet sanding...

 Last week we finally got the car into sealer primer. It was 82 degrees outside, and the inflatable paint booth once again acted like a greenhouse bringing the temperature up well over 100 degrees inside.

Spraying the roof, even with a 3-step ladder was a challenge to reach the middle and as a result there is a fair amount of overspray that needs to be cleaned up. So far it is cleaning up nicely, but it is a lot of work. I did the tailgate first as a test, and that actually went really well, so my hope is the rest of the vertical surfaces will go relatively easily.

Paint has already been purchased, so if I can get everything set in the next couple of weeks, color and clear will be applied. The factory Trafalgar Aqua Poly for the lower part of the car, and Polar White for the roof, windshield pillars, and the insides of the window frames. I'm thinking this was done because of the white interior so you didn't see green from inside the vehicle while everything else inside was white.

Really hoping to get color and clear on before winter so I can start reassembly. There are a lot of parts that need to go back on this vehicle!


Tuesday, November 2, 2021

Hood scoop

 When I started this project, I had no intentions of adding a hood scoop. Honestly. First off, to look right, it would have to be a pretty huge scoop. Second, I wanted to keep this looking more stock. Well, the choices you make sometime have consequences. In my case, that was moving to the serpentine setup on the front of the 429.

As it turns out, the A/C compressor sits very high. This wasn't an issue in the pickup truck it was pulled from, but passenger cars don't have near the same clearances under the hood. After spending a lot of time trying to figure out how I could get the compressor down under the hood, I came up empty handed. Even with cutting down the mounting bracket and rotating the compressor, it just wasn't going to fit. I'd already sold the original front end pulley and accessory setup, so I couldn't go back to that even if I wanted to, which I didn't. So, I finally had to commit to a hood scoop.


I cut a hole, and then took some measurements to get a feel for what size scoop I would need. After establishing some minimum dimensions I started the hunt for a huge scoop that I could modify to work. Nothing. I looked at cowl scoops that I could turn around backward, but they just wouldn't look right. So I sketched up roughly what I was looking for and started the hunt for someone who could make what I wanted at a decent price.


I wanted something simple, that looked like it could have come on the car, and be as low profile as possible. After more than a month of calling around chasing down fiberglass people, I found a guy a couple of hours away who could do the work for $200. Done!

After literally months of waiting for him to make the scoop I got the call that it would be ready. I drove more than 2 hours away to pick it up, and when I arrived it was the biggest turd you ever saw. It weighed around 15 lbs and was more than 1/2" thick in places. Nothing was flat. The ridge was crooked, thick, and off-center. It didn't even meet amateur quality. No charge, but months wasted waiting, and 4 hours of driving for nothing.

The search continued and I returned to one scoop that I had considered previously but opted not use. It was just barely wide enough, and not quite as long as I was thinking. And, it's about 4.5" tall! This was WAY more scoop than I wanted.


I decided to give it a shot. After some trimming to get the height down, and some shaping work on the back to match the profile of the hood, I got something that I think will work. I still need to add a blank to fill the opening as this will not be a functional scoop, but I'm pleased with how it fits.


I had to cut the studs off and remount them after trimming it down, but the fit is good and secure. Over winter I will finish up the details on the hood, blocking out the primer, touching up a few small spots that need attention, and have everything ready to go for paint in the spring.

Lots of Sanding

Still moving forward, but slowly. House projects and a new pool this year which have required a ton of landscaping pulled me away from getting to paint this year, but I will be ready come springtime to put color down.


It will also give me time to finish recovering the '67 bucket seats I picked up to replace the '68s I was going to use. I very much prefer them to the '68s, so I will get pictures posted once i have finished them. One of the unexpected delays I ran into when changing to the '67 seats was a lack of the seat buttons. I thought I had more, but it turns out the others I had were longer. Thankfully, after a few months of searching, I was able to secure what I needed along with several extras. Now I just need to take a few measurements off of the position on the backseat and I will be able to move forward.

Seat pictures to follow soon!

Sunday, November 8, 2020

Finally in primer!

 Well, clearly I've set the wagon aside and distracted myself with a number of other projects, both car and home, but this weekend, thanks to some uncharacteristic warm weather, the Commuter is in primer.

Earlier this year I purchased supplies to prime it, and about 6 weeks ago, an inflatable spray booth. After waiting a couple of months for a hood scoop, it arrived and was complete junk. So, I will have to make my own at this point, but decided to move forward with applying the Ultimate 2K primer.

I've never sprayed before, and got the help from a buddy who has done very limited spraying. It took a little bit to get the gun set up right, but once it was, the primer went down nicely, and I was able to get everything covered with just under a gallon of primer.

Things learned:

1) The booth has a greenhouse affect, and with it being a sunny day, it was about 15 degrees warmer inside than outside. I will be able to better adjust for this next time.

2) I used a fast catalyst, and probably should have had a normal one. I think this resulted in a more pebbly finish and overspray dusting.

3) There was a bit of wind. While I did tie down the booth using the D-rings, and had the good idea to clip them on with snap clips (carabiners) instead of tying and untying, the wind would blow under the booth and lift the floor. Adding a couple of landscape blocks to the inside corners helped with this, but so did having the fresh air blower running to create positive pressure in the booth.

4) Be sure to remove the filter covers in the "prep room" before spraying. The fresh air is fed through this room and into the booth through the filters.

5) a 6' folding table fit nicely at a slight angle in the prep room. This was very nice for mixing, and left the other side of the mixing room open for any other supplies, trash, and easy egress.

6) I love the booth. It was expensive ($1,300 off of eBay), and one of the blowers arrive broken, but I tested them the day they arrived, so I was able to have a replacement sent out right away, and the seller was easy to work with. For painting my full size wagon, I'm so glad I spent the extra money for the larger booth. Knowing what I know now, even if I was only painting something smaller like a Mustang, I would still spend the extra money and get the larger booth without hesitation. BUT...make sure you have the space to set this up and get air and power to it. This thing is huge! The ladder was REQUIRED to unzip the front as it's 33' long, 16' wide, and 13' tall. The basketball court is 30' long so we actually had to have the booth hang off the edge a bit on the front and the back, and make sure we kept if from hitting the gutters or the rim on the backboard since it is taller than both, and I have 12' ceilings in my outbuilding!

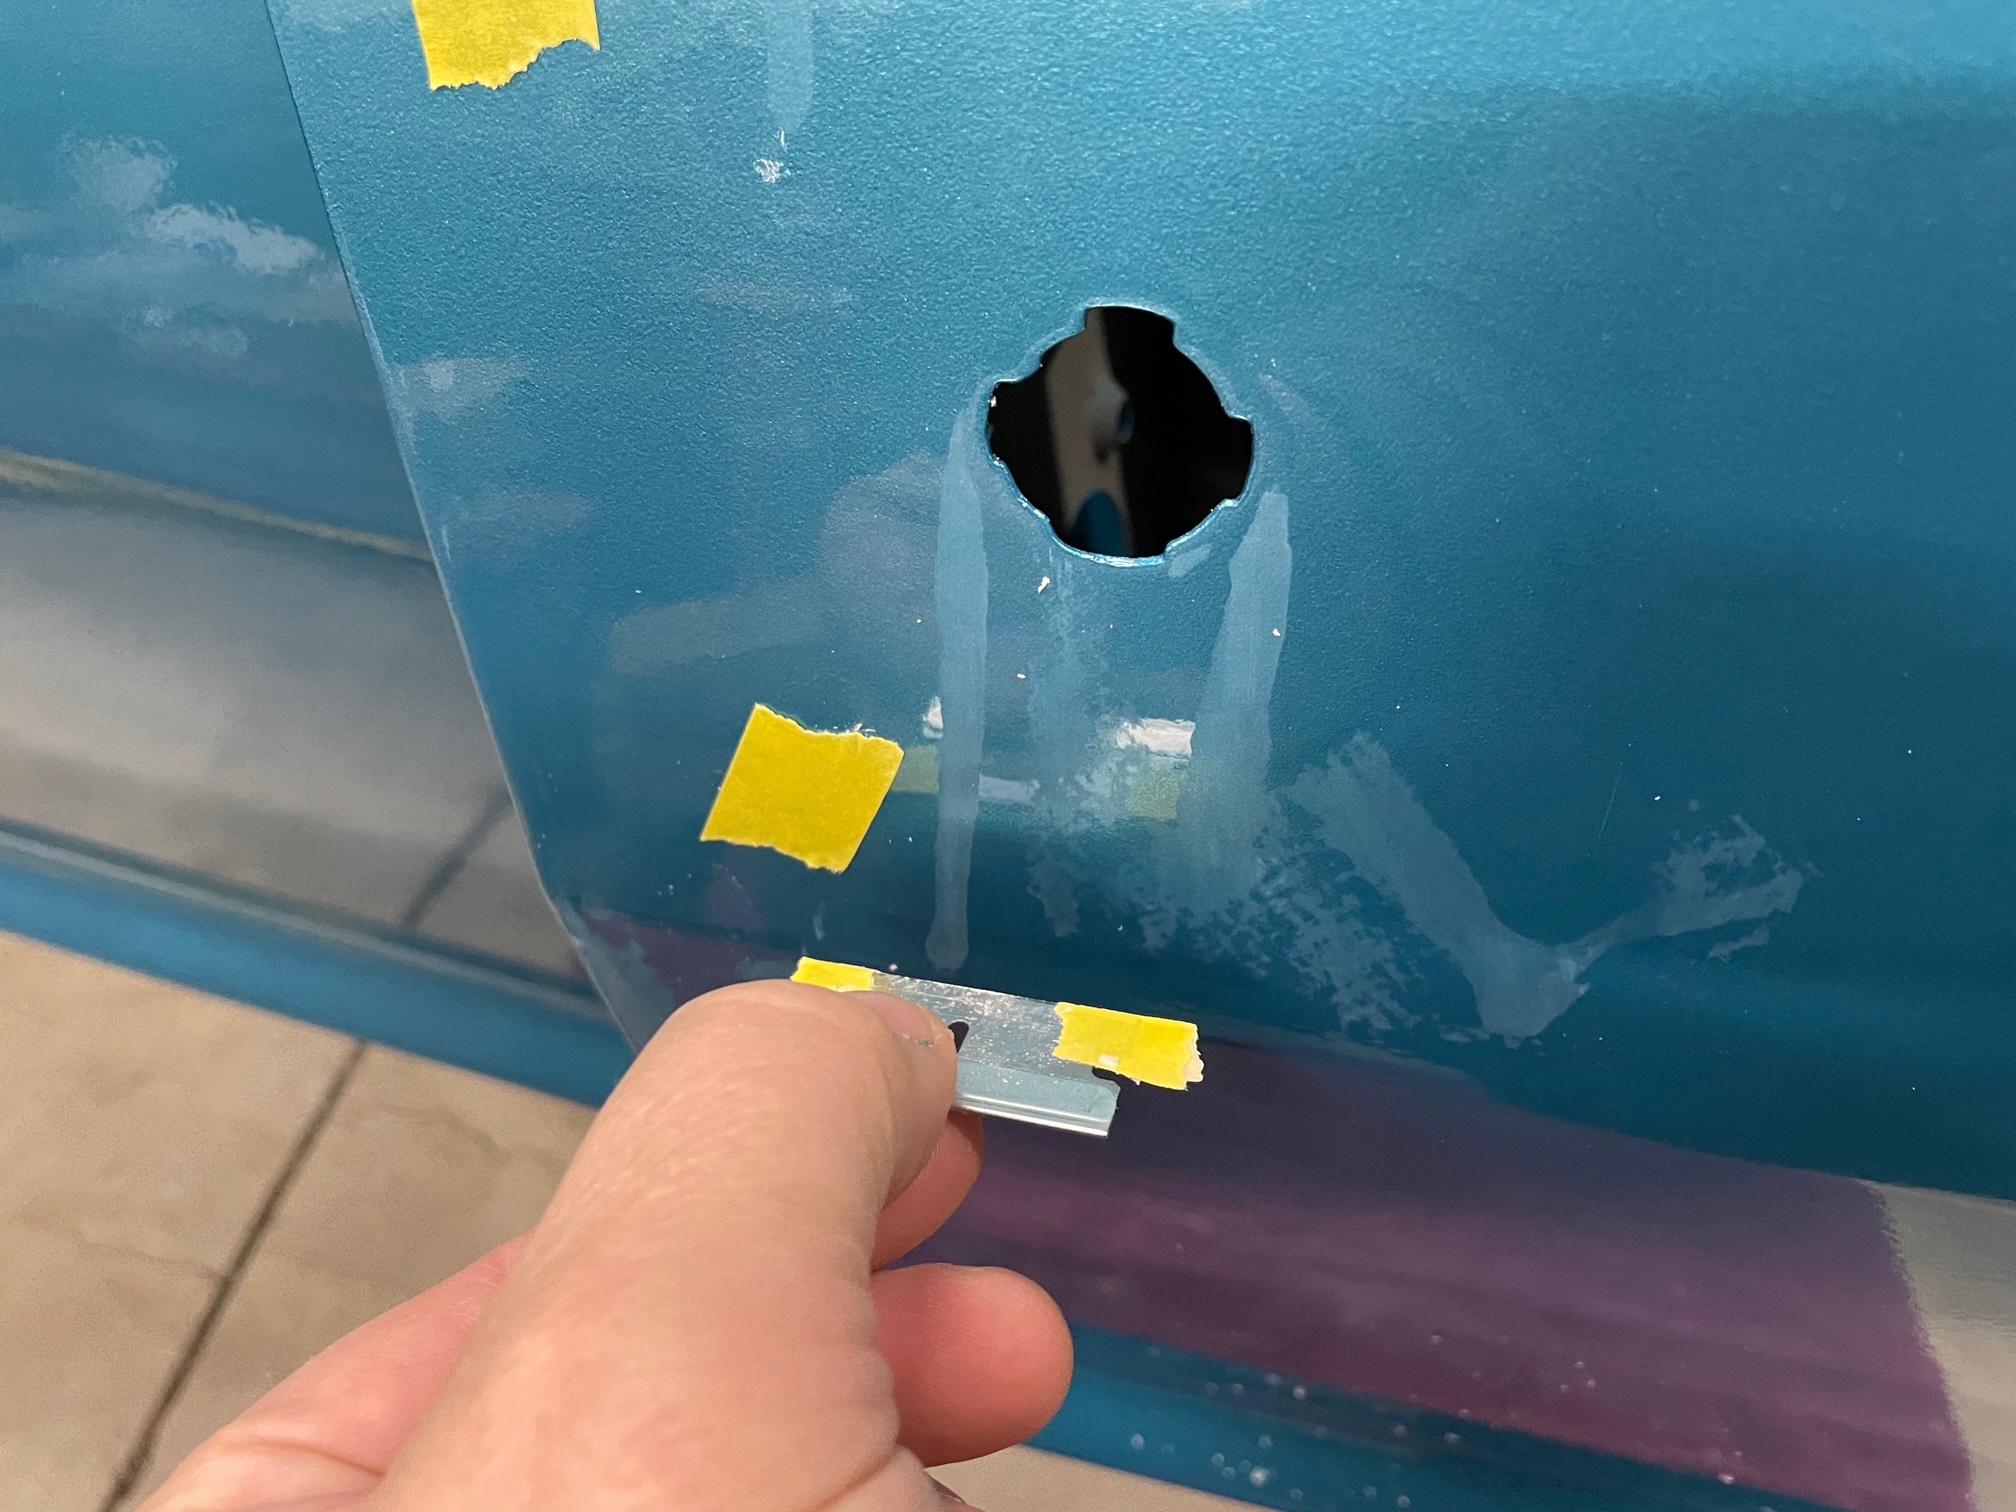
This was fun, and I can't wait to touch up a couple of imperfections we notice in the bodywork (really, not bad at all given where this started) and put it into paint, but that will have to wait for next year when the weather warms up again.

Next up, upholstering the '67 bucket seats I purchased to replace the '68s!