Sunday, February 26, 2023

Working on Cut and Buff of the Clear Coat...

 Making slow progress on cut and buff of the clear coat, but it makes a huge difference. The new paint isn't perfect, but it isn't half bad either. I will try to get a decent picture of a finished panel soon. Very time consuming, and a bit stressful, but looking great.


Monday, December 12, 2022

Interior Reassembly is Under Way!

 Started on reassembly of the interior. Awesome to finally see the new upholstery in the car! More to come!


Saturday, December 3, 2022

We have Roof Rack!

 After many hours of wet sanding and buffing out the roof, I have finally finished which means I can add the roof rack. The first step was to add the stainless steel strips back onto the roof. I saved the rubber strips that run underneath them, but everything was filthy. I started by cleaning everything with a stiff brush and Simple Green. After two passes, they just weren't clean, so i moved on to my old friend, stainless steel SOS pads. Two passes with those and they finally came clean.

It always amazes me when cleaning up old parts that have 50 years of filth, how much nicer they are after. Amazingly, once clean of dirt and oxidation, the rubber strips softened and significantly more pliable. What I also found was, after 10 years of climate-controlled storage they had shrunk by roughly 1/2". When I went to mount everything back up, the second mounting hole was roughly 1/2" short of the screw hole, and I had to cut new holes in the rubber strips. After that, they mounted without issue.

Like the stainless strips, the roof rack and its mounts were also filthy. I was very fortunate. My roof rack was missing when I purchased the vehicle, but I was able to find this one locally at a very reasonable price. The seller saved all of the mounting hardware, including the rubber pads that go between the feet and the roof. I did find that some of the hardware on the roof rack itself needed to be replaced which I was fortunately able to get from the local hardware store. After a little tweaking and adjustment, I was able to get all four corners mounted and discovered that nearly every hole is stripped. So, the rack is loosely held in place while I work out what I need to do next. I'll likely have to move up to the next screw size and grind the heads smaller as they fit into a countersunk pocket.

Super thrilled to see my wagon with a roof rack after so many years. Once I have that resolved, I will be moving back onto wet sanding and buffing out the rest of the vehicle. This will take me several weeks as there is a lot of work to be done there. More updates to follow soon!


Wheels are finally on!

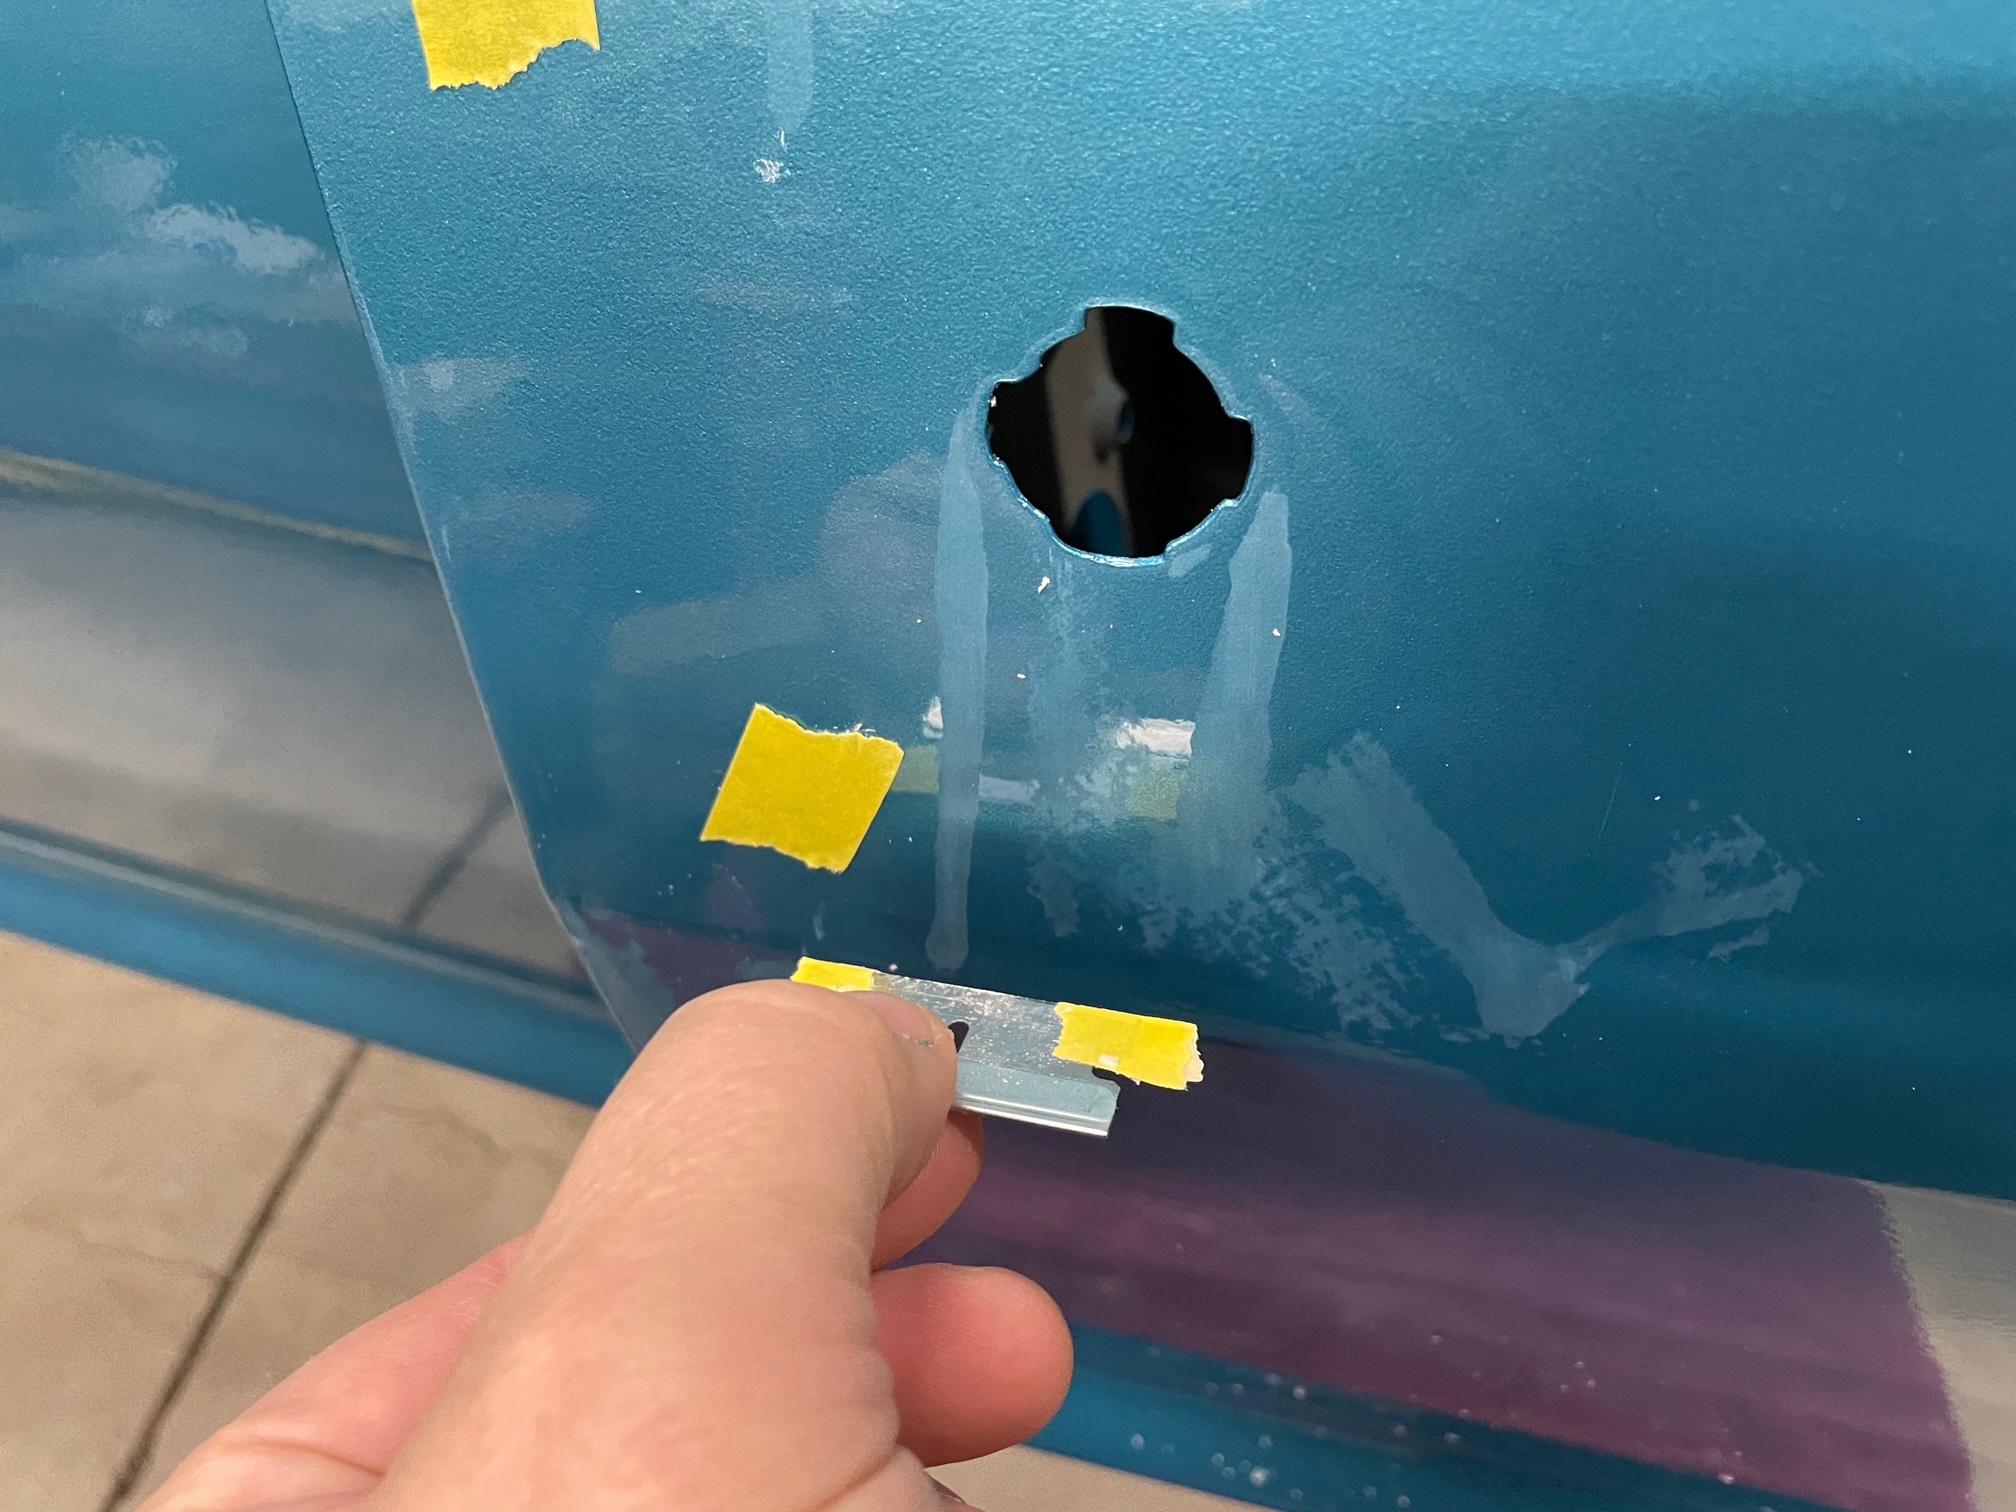
 The wheels are finally on the wagon, but it turned out to be a bit of a pain. So these wheels are an old school set of Cragar S/S rims that I rescued from a '66 Galaxie that I parted out. They were pretty rusty, but I've always loved these rims, so I decided to keep them. After paying $20 a rim to have them professionally blasted, stripping everything including the chrome, I took them to the local powder coater and had them done to match the roof. for another $140. My original plan was to only do the outer edges of the rim in white, and then do the center in argent, but they couldn't get a clean line, so we went all white, and then I added the tri-bar knockoffs.


So with the wheels done, I needed tires. I had purchased a couple of Cooper Cobras for the rear a while back and had them mounted up. When I went to get a set of matching tires for the 5" wide front rims I found that Cooper no longer made them, and Coker doesn't make a size that would fit. I ultimately had to punt and get a set of touring Hankook tires.

The lug nuts on the rims that we on the car were the wrong style, so I needed to get new ones. I found a set specifically for Cragar S/S wheels and got them ordered. A few days later...

Attempt #1: The washers that came with the lug nuts were too large a diameter, so I ordered new ones. A few days later...

Attempt #2: The new washers arrived. I went to install the first wheel and it turns out I needed a special short lug nut, so I returned the set and managed to chase down a set of the lugs with the shorter length and got them ordered. A few days later...

Attempt #3: The new lug nuts arrived. They also came with washers, but that's fine because these actually worked.

Now it's time to get back to wet sanding and buffing out the roof.

Friday, November 4, 2022

“Paint Correction”


It's been a week since I painted the roof and 8 days since I did the rest of the body. The clear is definitely firming up and “shrinking” as I've read it will do. While I still have plenty of orange peel to “correct”, there are places where I can definitely see it has diminished.

So, the next step on the vehicle is “paint correction” as they say in all of the videos, and for me that starts with addressing the runs in the clear coat. Here are a couple of the worst, and they are pretty bad.


The majority of what I've found approaches this task by taking a razor and scraping the surface of the run, shaving it down until it is just about flush with the surface of the surrounding clear coat. This is a tedious, and harrowing process, but after cleaning up several, it hasn't been too bad. I did discover that one of the runs was in the base, not the clear, so I have a small touch-up that I will need to make to the paint, but it's small and in a relatively inconspicuous spot.


After I have completed shaving the runs down, I will be trying out some of my new paint buffing equipment including denim pads. These are supposed to allow you to smooth out the orange peel without having to sand. One of the things I purchased was a paint thickness gauge that I will be checking to make sure I have plenty of room to clean things up. As always, the goal is to improve, not make this into a show car. We will find out just how well these work in the hands of a novice. Hopefully I will get a chance to start this next week, and more to see at that point.