Combining several days worth of effort together here, but I have been working on putting the front and back of the car back together. After more than a decade, it amazes me that I can still locate the hardware and figure out how some of this goes back together.
At the back of the car, I was able to get the Mercury emblem installed. It was missing two the the posts, so I'm hoping it will hold up with the two remaining. Installing stuff like this needs to be done before putting the glass in or it won't be accessible. I was also able to get the external window crank/window lock installed. I had a NOS handle that I added which has the original factory red emblem in beautiful condition. A lot of buffing and polishing for everything before it goes on. This won't be a show car, but there is so much grime/hard water staining that a thorough cleaning leaves many of the parts looking almost like new (well, at least a lot better) compared to how they started.
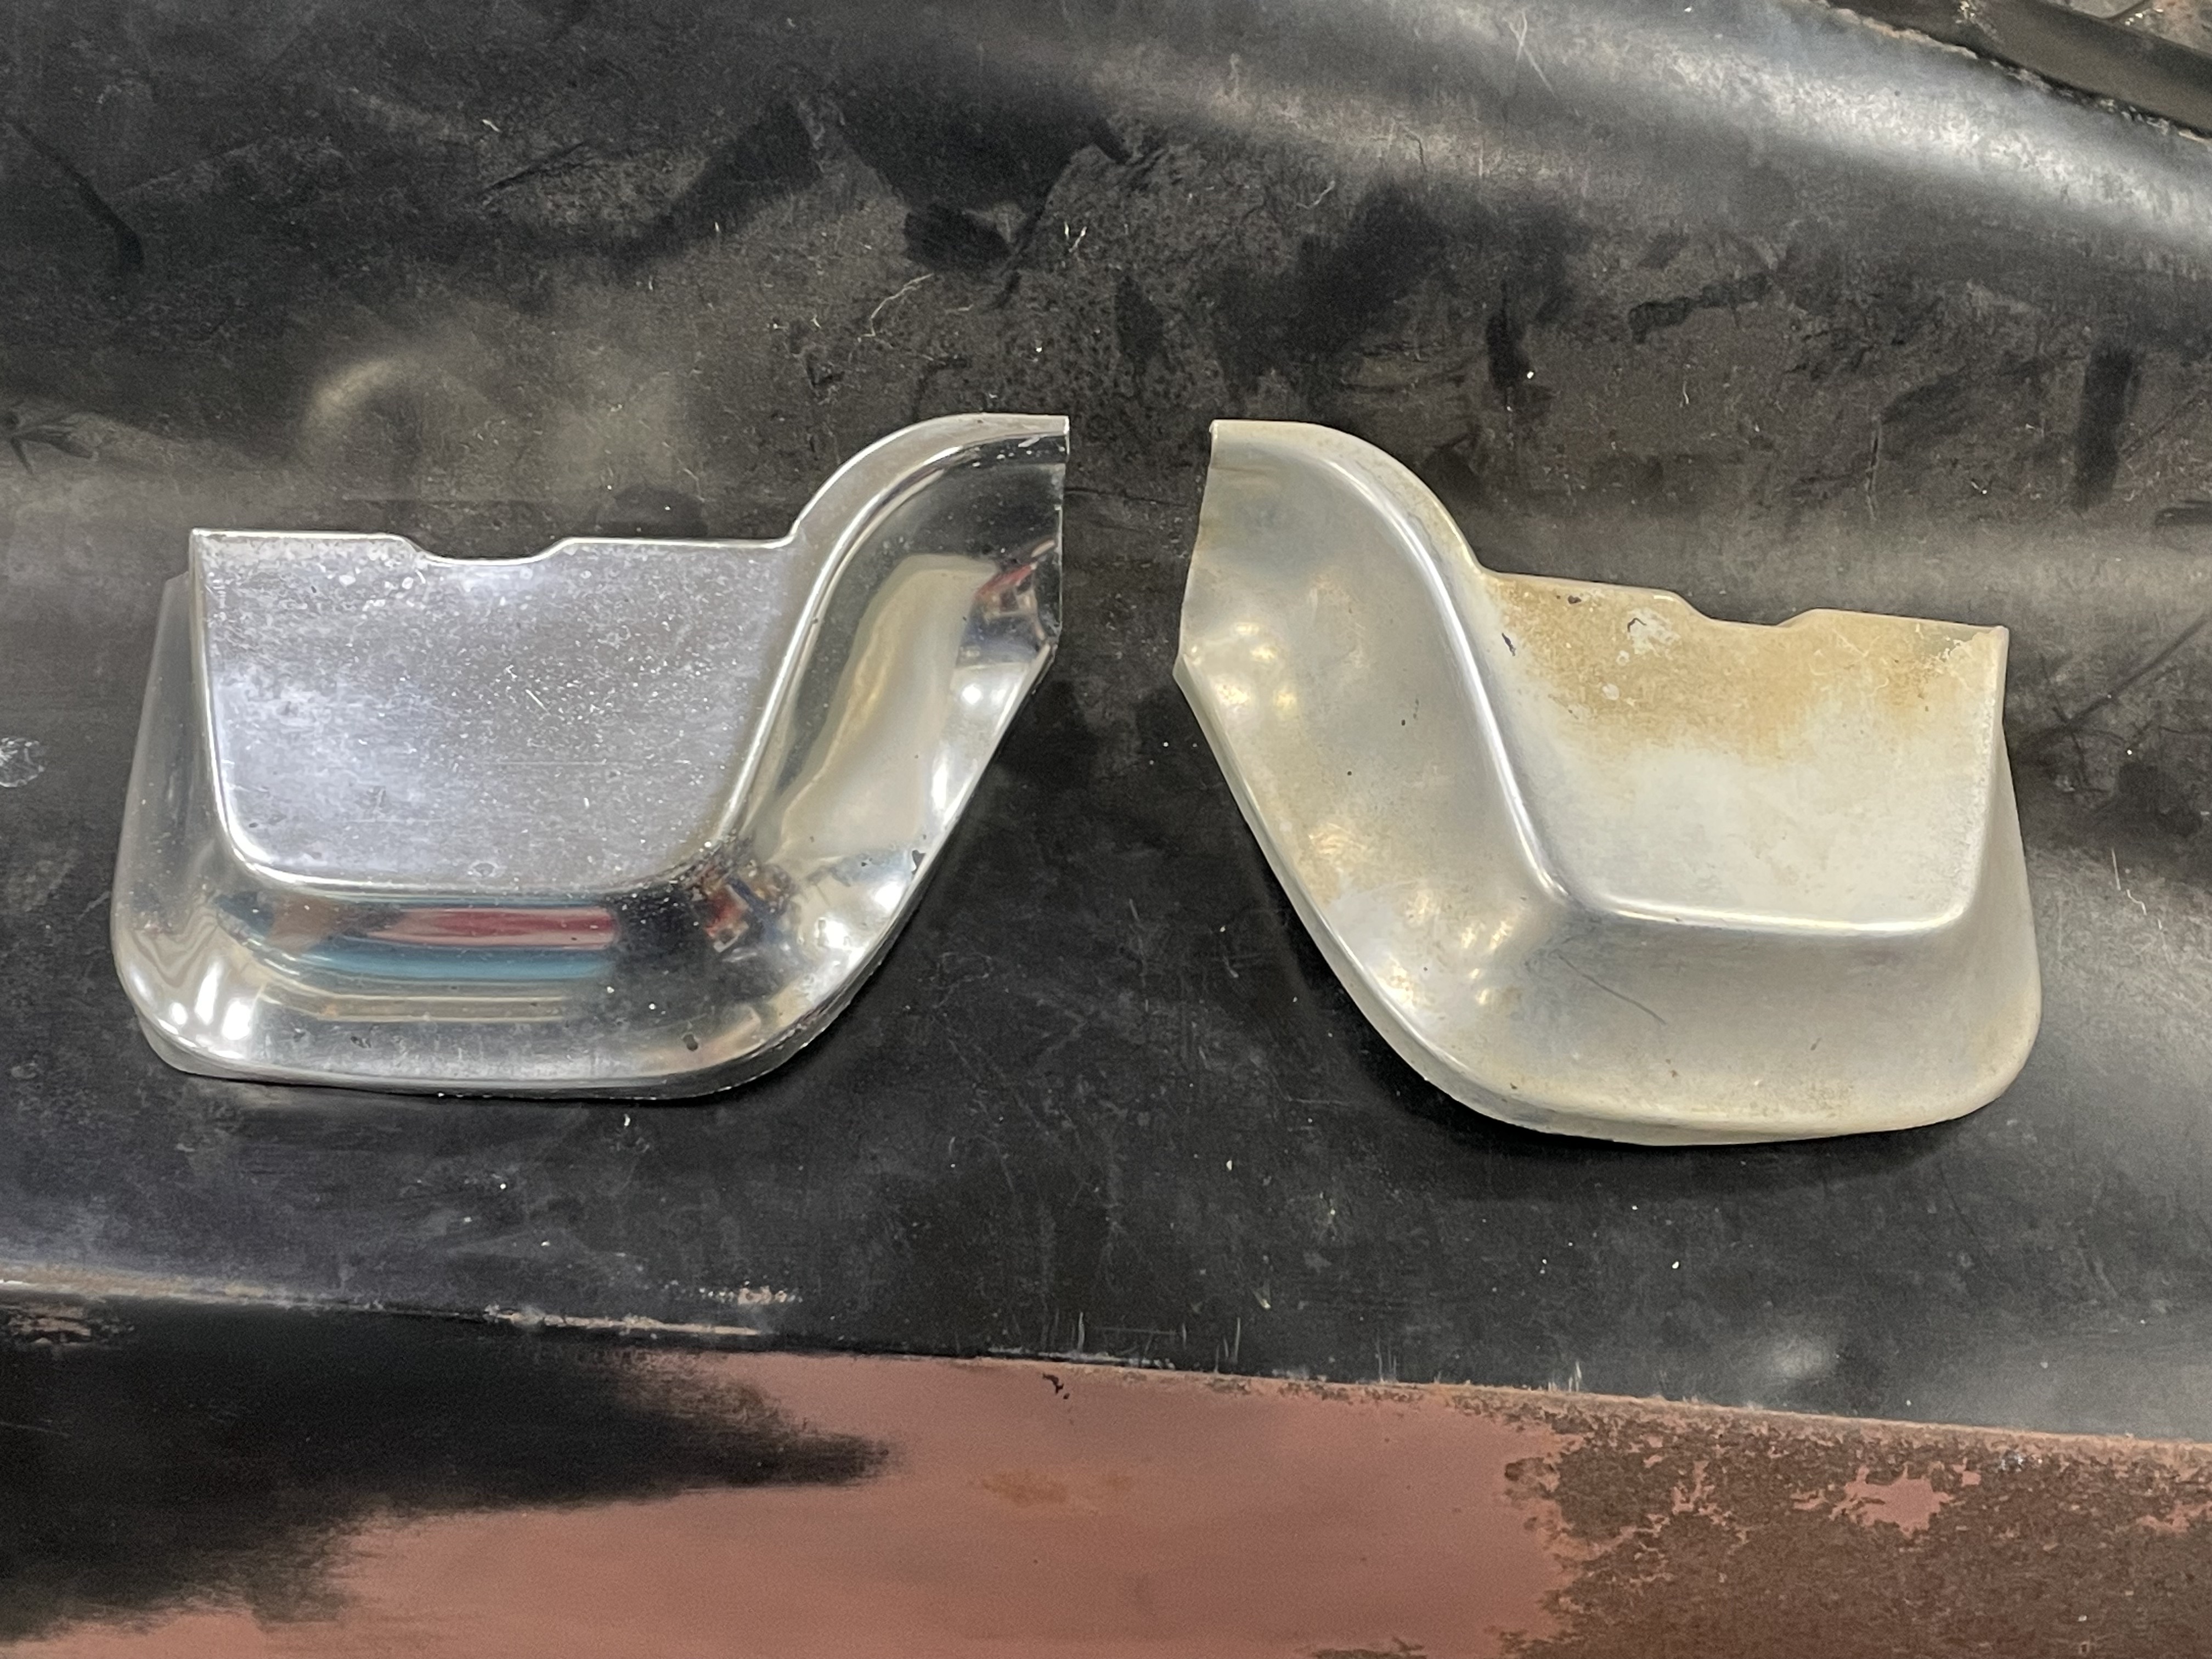
This is filler trim for the gap between the rear bumper and the back of the car.

Here are a couple of pics of the wagon tailgate with installed hardware.
Moving to the front, I went ahead and did a "quick" cleanup of the bumper brackets. Washed thoroughly, sand with 150 grit to knock down any rust scale or road crud build-up, and then wash again. As I've been posting for years, I really like the Eastwood Rust Encapsulator: large cans, sprays cleanly, dries fast. After laying down a heavy coat, using a foam brush, I painted the brackets with Eastwood's Extreme Chassis Black. It dries faster than I care for in warmer weather making it more difficult to get a smooth finish with the foam brush, but on a sub-40 degree day, it works fantastic! You have to give it a few to dry, but the finish is really quite nice and smooth.


I didn't remember the order that things came apart, so I made a lot of extra work for myself when putting things back together I installed the bumper first which was a bad idea. accessing everything else for the grill was really difficult. And, when I went to adjust the position of the grill I ended up chipping the paint on the fender and the fender extension (look at how tight that tolerance is!), so I will add those to the list of places I need to touch up the paint.
Speaking of which, I also picked up some additional paint to spray in the jambs where I missed when painting the car, the hood (needed to spend more time on the body work, and ended up breaking through the base coat when wet sanding), the hod scoop because I had a couple of light areas around the base and wasn't happy with that, and a couple of miscellaneous little pieces that were overlooked.
Once I had the bumper in, I had to think about the order of installation of several items including the emblem on the header panel, the Mercury logo for it as well, the front nose trim which ties into the grill, the long, thin trim on the fender that runs the length of the wagon, and the fender "grill" trim that allows access to the installation of other front end components. Last night I was able to get all of those installed except that last fender "grill" which will go in the next time I'm working on the car. It will need clean up before it is installed.
In the meantime, here is the front of the wagon, the first time it has been back together since I took it apart more than 13 years ago!


The bumper isn't perfect, but I have two, and I may just splurge and have the other one rechromed and swap it out at some point in the future as it is a highly visible piece. For now, this will work perfectly. I'll try to get a better picture of the front end when I can roll it out onto the driveway and step back more than two feet from it.
That's all for now. Next up will likely be getting the tailgate glass back into place, the other glass track for the tailgate glass that goes in the rear roof pillar, and hopefully reinstalling a good, used rear tailgate seal.